Introduction
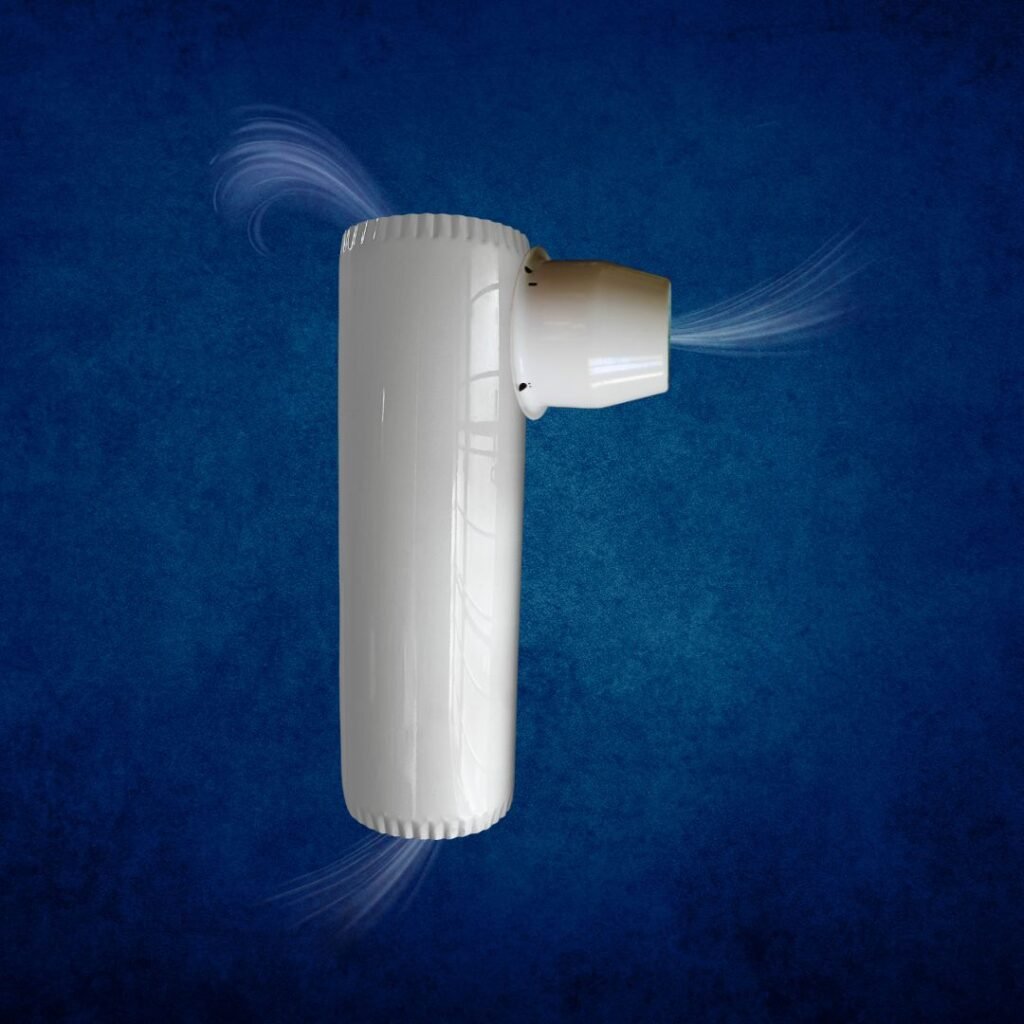
With energy costs on the rise, homeowners are constantly looking for ways to improve cooling efficiency while keeping electricity bills in check. The Air-Orienter by Caveao is an innovative solution designed to optimize airflow and enhance the performance of your home’s cooling system. Whether you have a central AC unit or split-system air conditioning, installing an Air-Orienter can significantly improve air distribution, reduce energy consumption, and enhance overall comfort.
Why Install an Air-Orienter?
Before diving into the installation process, let’s explore why homeowners should consider adding an Air-Orienter to their cooling systems:
Improved Airflow: Ensures even cooling throughout your home, reducing hot and cold spots.
Energy Savings: Lowers the workload on your HVAC system, leading to reduced electricity costs.
Better Air Quality: Enhances ventilation and improves indoor air circulation.
Eco-Friendly: Helps decrease your home’s carbon footprint by optimizing energy use.
Tools and Materials Needed
Before beginning installation, gather the following tools and materials:
Air-Orienter unit (specific to your HVAC system)
Screwdriver
Measuring tape
Mounting brackets (if required)
Drill (if necessary for mounting)
Duct tape or sealant for secure fittings
Step-by-Step Installation Guide
Step 1: Identify the Best Installation Spot
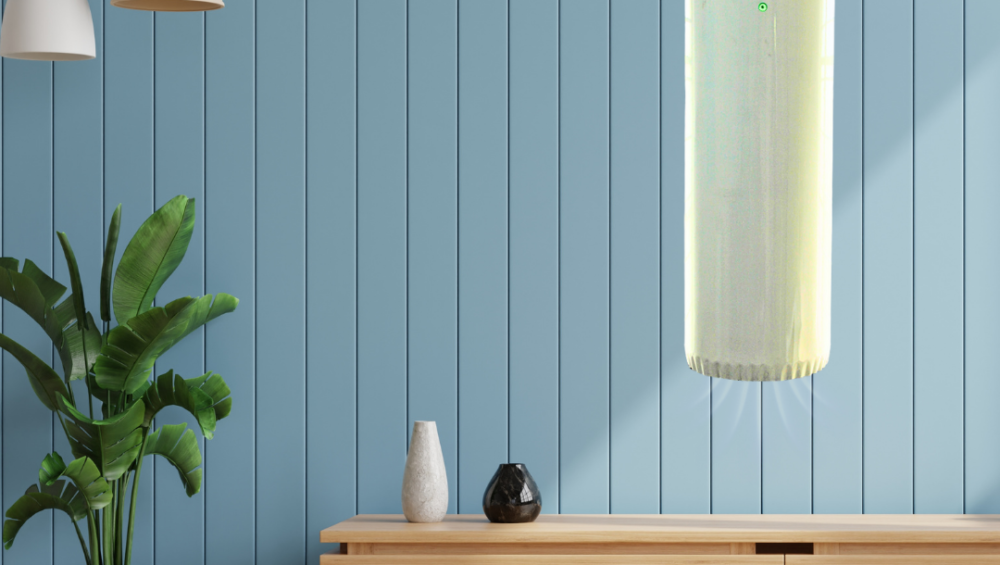
The Air-Orienter should be installed near air vents, ducts, or AC outlets to optimize airflow.
For homes with central AC systems, placing it near main air ducts or registers works best.
If you use a split AC system, consider installing it near the indoor unit’s air output.
Step 2: Secure the Mounting Position
Use a measuring tape to mark the spot where the Air-Orienter will be installed.
If using brackets, attach them firmly to the designated area with screws.
Ensure that the unit is positioned for maximum air coverage in the room.
Step 3: Attach the Air-Orienter
Carefully align the Air-Orienter with the air outlet or duct.
Use screws or adhesive mounting pads to fix it securely in place.
If connecting it to an existing duct system, use duct tape or sealant to prevent air leaks.
Step 4: Test the System
Turn on your air conditioning unit and observe how air is redirected.
Check for uneven airflow or blockages and adjust the positioning if needed.
If applicable, modify angle settings to achieve the best air distribution.
Step 5: Final Adjustments
Walk around the room and assess temperature consistency.
If needed, reposition or slightly adjust the Air-Orienter for better airflow balance.
Ensure there are no gaps or loose fittings that could affect performance.
Maintenance Tips for Long-Term Efficiency
To keep your Air-Orienter working efficiently, follow these maintenance tips:
Clean regularly: Wipe off dust buildup to ensure unrestricted airflow.
Check for secure fittings: Ensure it remains properly attached over time.
Inspect for airflow obstructions: Rearrange furniture if needed to maximize circulation.
Schedule AC maintenance: A well-maintained AC unit enhances the effectiveness of the Air-Orienter.
What Our Customers Are Saying
Conclusion
Installing an Air-Orienter in your home is a simple yet powerful way to enhance cooling efficiency, lower energy costs, and create a more comfortable living space. With just a few easy steps, you can enjoy better air circulation and long-term savings.
Ready to transform your home’s cooling system? Visit Caveao’s website today and discover how the Air-Orienter can revolutionize your indoor comfort!